Einrichten Ihres smarten Innr Zigbee-Systems
So koppeln Sie intelligente Leuchten mit der Innr-Brücke
Die Einrichtung des Innr Zigbee Systems ist sehr einfach. Mit einer Bridge, ein paar intelligenten Lampen und einer App sind Sie fast bereit, Ihre Beleuchtung intelligenter zu machen!
Was brauchen Sie?
Um Ihr Innr System zu installieren, benötigen Sie einen Router mit einer WLAN-Verbindung, die Innr App, die Innr Bridge und ein paar intelligente Glühbirnen.
Schritt 1: Installieren der Innr-App
Installiere und öffne die Innr App. Die App ist bei Google Play (Android) und im App Store (Apple) zu finden.
Schritt 2: Innr App Konto erstellen
Um die Innr App nutzen zu können, benötigst du ein Konto für die Innr App. Verwenden Sie Ihre E-Mail-Adresse und ein sicheres Passwort, um Ihr Konto zu erstellen.
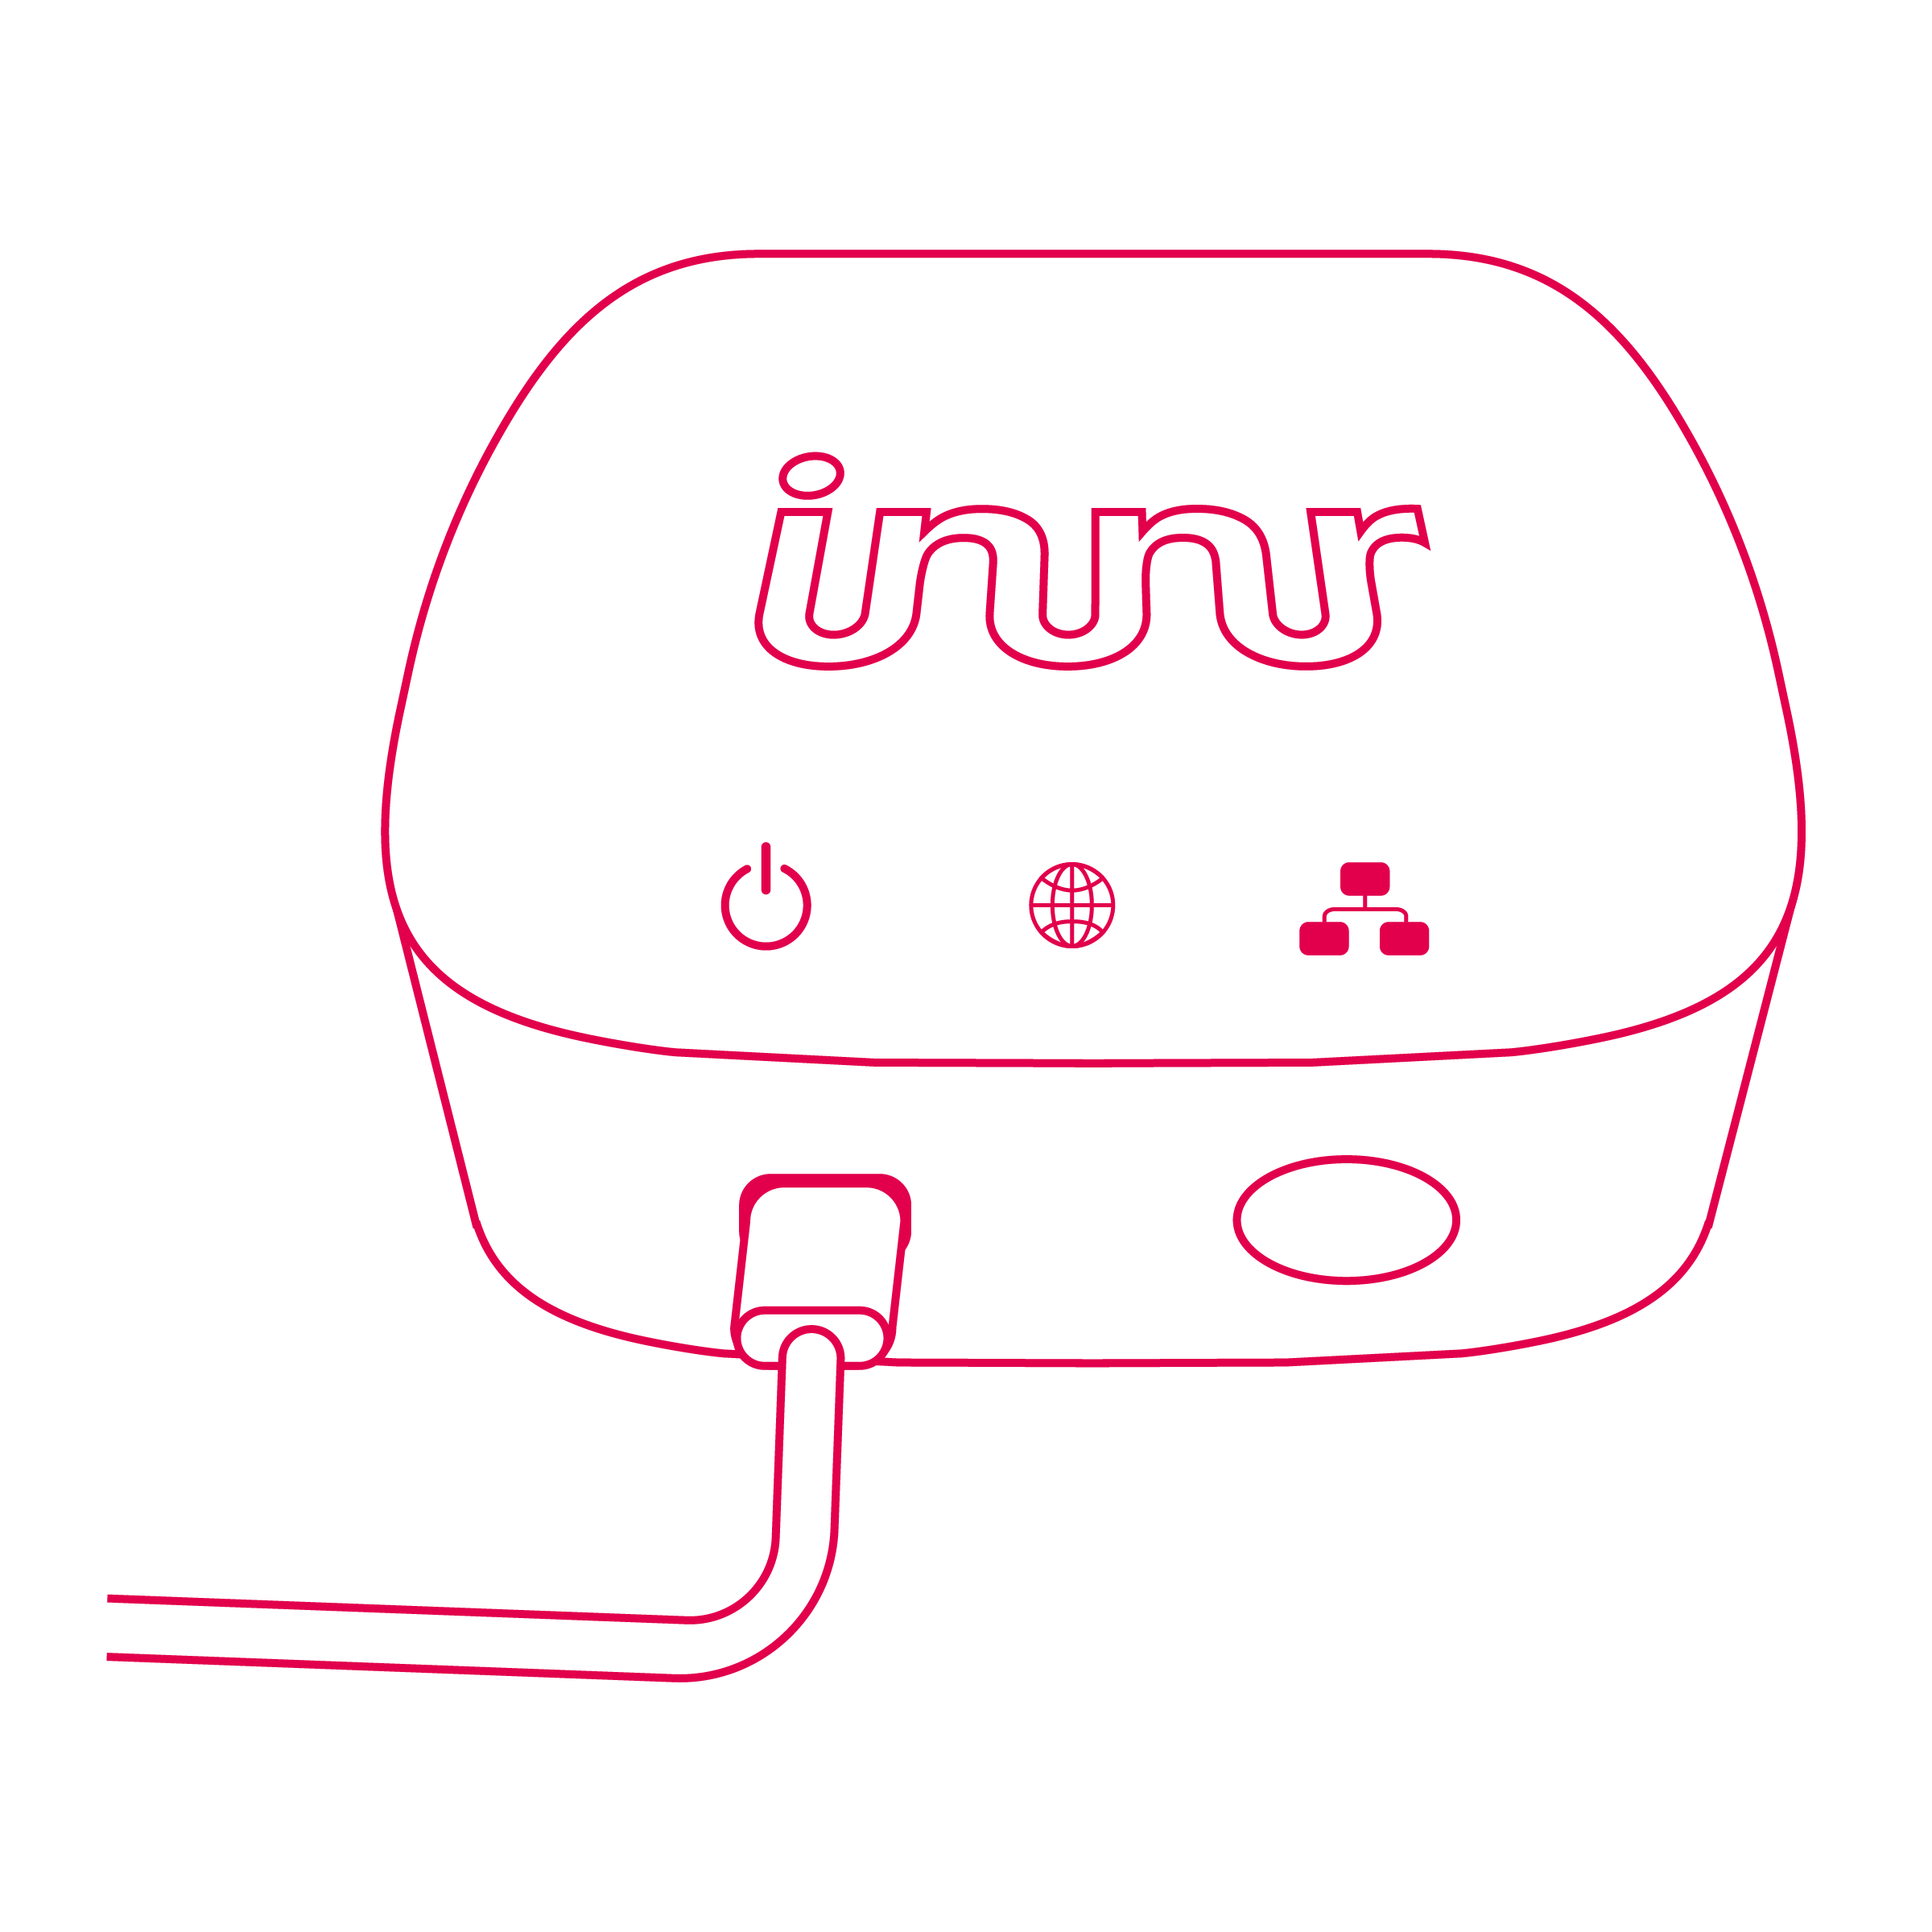
Schritt 3: Verbinden der Innr Bridge mit der Innr App
Stecken Sie die Bridge in die Steckdose und verbinden Sie das USB-C-Kabel mit der Bridge. Prüfen Sie das WLAN-Signal im Raum, bevor Sie die Bridge platzieren. Dadurch werden Verbindungsprobleme vermieden.
- Öffnen Sie die Innr App und tippen Sie auf das »+« Symbol und wählen Sie »Gerät hinzufügen«.
- Scannen Sie den QR-Code auf der Rückseite Ihrer Bridge.
- Wählen Sie ein 2.4Gz WLAN-Netzwerk und geben Sie Ihr WLAN-Passwort ein.
- Die App beginnt mit der Suche nach Ihrer Brücke.
- Sobald die App Ihre Brücke gefunden hat, können Sie Lampen und Zubehör hinzufügen.
Schritt 4: Hinzufügen von Geräten
- Tippen Sie auf dem Startbildschirm auf das »+« Symbol und wählen Sie »Gerät hinzufügen«.
- Scannen Sie den QR-Code auf Ihrem Gerät. Wenn auf Ihrem Gerät kein QR-Code vorhanden ist, tippen Sie auf “Ich kann nicht scannen” und wählen Sie dann das Gerät aus, das Sie installieren möchten.
- Schrauben Sie die Glühbirne in die Leuchte und schalten Sie sie ein.
- Die App beginnt mit der Suche nach Ihrem Gerät.
- Sobald Ihr Gerät gefunden wurde, können Sie es einem Raum hinzufügen und die gewünschten Routinen für das Gerät auswählen.
Einen Raum erstellen
- Tippen Sie auf dem Startbildschirm auf das »+« Symbol und wählen Sie »Raum hinzufügen«.
- Wählen Sie einen Namen für den Raum und wählen Sie ein Symbol. Wir haben viele Icons, die verschiedene Räume in Ihrem Haus perfekt illustrieren.
- Wählen Sie die Geräte aus, die Sie für diesen Raum verwenden möchten.
- Tippen Sie auf »Speichern«, und schon können Sie den Raum mit den hinzugefügten Lampen und Accessoires steuern.
Erstellen einer Routine
- Wenn Sie sich auf der Startseite befinden, tippen Sie auf das “+”-Symbol und wählen Sie »Routine hinzufügen«.
- Wählen Sie einen Namen für die Routine und ein Symbol aus. Wir haben viele Symbole zur Veranschaulichung verschiedener Routinen für Sie.
- Wählen Sie die Geräte aus, die Sie mit der Routine verknüpfen möchten.
- Tippen Sie auf eine Lampe, um eine Farbe oder Farbtemperatur einzustellen.
- Tippen Sie auf »Speichern«, und die Routine steht Ihnen zur Verfügung.
Quick answers
The Innr app is compatible with smartphones or tablets with the following operating systems: – iOS 9 and higher – Android 4.1 and higher
The Innr app is not compatible with Windows phones or tablets.
During the initial installation process the app will look for a Bridge that’s connected to the same home network. In other words, the Bridge should be connected to the same router that your phone or tablet is connected to using WiFi. When this isn’t the case, the installation will fail.
This was done because of security considerations. Without this safeguard, if someone else is installing their Bridge at the same time you are, you might accidentally hijack it! After the initial installation, being connected to the same home network is no longer necessary. You’ll be able to operate Innr and lighten up your home no matter where you are.
Please note that using a VPN service during the initial installation could complicate the install process, so please disable it until the installation is finished.
There are a couple of routers that might cause problems, including the Davolink DV- 2020 supplied by Tele2, and the KPN Experia Box. If you see three green lights on the Bridge while you’re connected to the same router as your Bridge, and your Bridge still can’t be found, your router may have its ports closed, or it might not be feeling particularly cooperative. When this is the case, the rightmost light on the Bridge may be a constant red. This means it’s not receiving any internet from the router. Contact us using service@innr.com so we can help.
If there are multiple WiFi networks in your home (i.e. a personal and a visitor network, of a 2.4 GHz and a 5.0 GHz network), your Bridge might not be found either. To fix this, turn off all but one of the networks during the initial installation. After the installation you can turn them back on again.
It’s likely a range issue. You can try the following solutions: – Install more lights. They communicate with each other to form a chain (Philips as well as Innr).
- Place the Bridge at a higher point in the room. It’s likely your lamps are closer to eye level than the floor, so try to place the Bridge at about the same height.
- Don’t put the Bridge or the lamps close to anything metal, like metal lampshades or inside the fuse box.
- If possible, pick a spot in the center of your home to put the Bridge.
- When first connecting a lamp with a Bridge, it’s important they’re physically close to each other. If necessary, temporarily move a lamp to close the distance. After the initial connection, the system is able to remember them and they can be further away from each other.
No. In fact, Innr lamps can’t be installed behind a dimmer at all. They can’t handle the electronic control of the dimmer, not even when the dimmer is turned to the brightest setting. Chances are the Innr light will flicker, but even if they don’t, it’s likely the wireless control of the Innr system will be severely impaired through using additional dimmers.
The dimming function is built into the Innr system and it’s compatible with all its lights. The Bridge is essentially ‘one dimmer for your entire home’ and when operated through the Innr App, it allows you to specify the illumination level of each separate lamp, or even multiple lamps at the same time using scenes.
After the initial installation, it doesn’t really matter which WiFi network you use because the Innr lighting system can also be controlled through the Internet, no matter where you are. However, operating it through the same home network as the Bridge is connected to will work the fastest. That’s why when you’re home, it’s best to select the WiFi network of the router to which you have connected the Bridge’s cable.
Yes, in order to operate the Innr lighting system you need to create an account. After you’ve opened the app for the first time, you have to enter a username. This needs to be a working email address. You’ll have to think of your own password. Take the following password requirements into account: 8 to 128 characters with at least 1 uppercase letter, 1 lowercase letter and 1 number. We’ll then send you an email to confirm your account. Once you’ve done that, you can continue the installation. The app will guide you through this step-by-step.
Yes. Your Innr account’s password has the following requirements:
- A minimum of 8 characters.
- A minimum of 1 lowercase letter.
- A minimum of 1 uppercase letter.
- A minimum of 1 number.
Your lamps still need to be linked to your Bridge. This is needed to make sure you are the only one in control of your lights, and not your neighbour (and vice versa!). As long as a lamp isn’t linked to a Bridge, it will flash for a few seconds when turned on. To connect one or multiple lamps with your Bridge, use the app to have the Bridge search for lamps, and turn them on one by one. Every lamp flashes for a bit when turned on because it hasn’t connected yet, but it’s found by the Bridge within 4 seconds and will flash one more time to signal it’s connected.
Yes, you can keep using your own fixtures! We’ll make sure you’ll see them in a whole new light. Innr uses lighting products with a special built-in RF chip so they can communicate with the Innr Bridge. To get the most out of the ‘Smart Lighting’ system, replace your old bulbs with Innr light bulbs, candles and spots. Additionally, The Innr Smart Plug allows you to keep using your current bulbs that don’t have a E14, E27, B22, A19, BR30 or GU10 fitting. However, the Smart Plug won’t be able to dim them, just turn them on and off. Besides that, almost all mains-connected devices can be operated wireless by connecting them with a Smart Plug to your smart system!
Once the lamps have been linked to your Bridge or Remote you can safely move them or put them in another fitting. You can keep controlling the moved lamps, provided that the lamp is still within acceptable range of the Bridge, or has enough other Bridge-connected lamps close to it to pass the signal. Of course, moving a lamp may mess up your room layout a bit, but you can remedy this in the app.
Yes, by switching the light off and on 6 times in quick succession, it’s resets manually. The lamp will blink twice if done successfully. See our YouTube instruction.